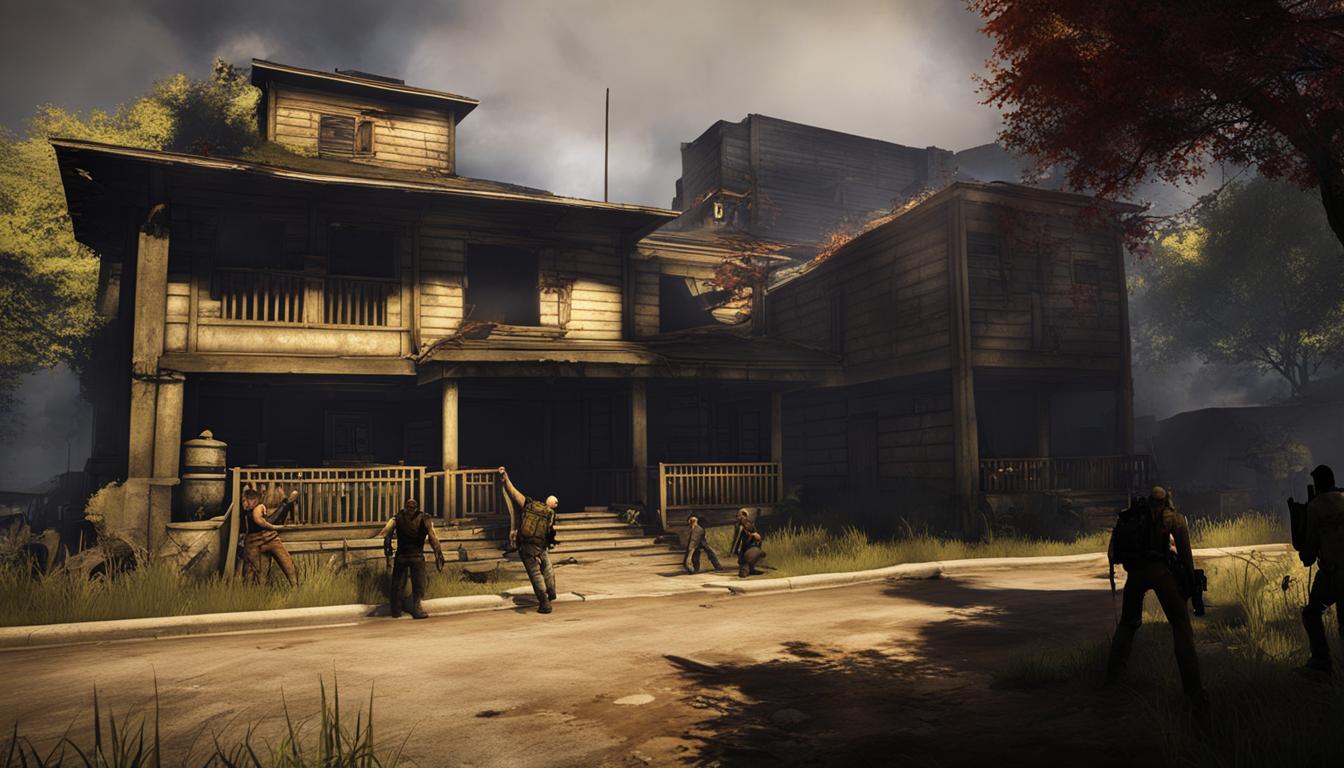
Welcome to our comprehensive guide on how to host a Left 4 Dead 2 server, catering to all the gaming enthusiasts out there looking to elevate their multiplayer experience. Whether you want to play with friends or create a dedicated community, having your own server allows you to customize the gameplay, choose the players, and enjoy lag-free sessions. With our step-by-step instructions, you’ll be able to set up your server quickly and easily.
In the following sections, we’ll cover everything you need to know, from the initial setup to customizing your server and optimizing its performance. So let’s dive in and get started on creating your own gaming hub!
Setting up Your Left 4 Dead 2 Server
Setting up your very own Left 4 Dead 2 server is an exciting endeavor that allows you to create a personalized gaming experience for you and your friends. Whether you’re looking to host private matches or build a dedicated community, this section will guide you through the essential steps to get your server up and running smoothly.
Step 1: Prepare Your System and Network
Before diving into the server setup process, ensure that your system meets the minimum requirements to run a Left 4 Dead 2 server. Check the official game documentation or Valve’s website for the recommended specifications.
Next, ensure that your network connection is stable and capable of handling the server’s traffic. A reliable and fast internet connection is essential for providing a lag-free gaming experience to your players.
Step 2: Select a Server Hosting Provider or Set up a Dedicated Machine
There are two main options for hosting your L4D2 server: utilizing a server hosting provider or setting up a dedicated machine. If you prefer a hassle-free experience, opt for a reputable hosting provider that specializes in game server hosting. They will handle the server setup, maintenance, and technical support, allowing you to focus on gameplay.
Alternatively, if you have technical expertise and prefer full control over your server, setting up a dedicated machine is a viable option. This requires purchasing or repurposing hardware, installing the necessary operating system and software, and configuring your network settings accordingly.
Step 3: Install and Configure the Left 4 Dead 2 Server Software
Once you have your server hosting method set up, it’s time to install the Left 4 Dead 2 server software. This can typically be done through a control panel provided by your hosting provider or by downloading the server files directly from the official Steam website.
After the installation, you’ll need to configure the server settings to align with your preferred gameplay experience. This includes setting server name, password, maximum player count, game mode, and other parameters to customize your server.
Step 4: Test and Optimize Your Server
Before opening your server to the public, it’s crucial to test its functionality and performance. Join the server yourself or invite a few friends to ensure everything is working as intended. Adjust any settings or troubleshoot any issues that may arise during this testing phase.
To optimize your server for the best gameplay experience, consider implementing measures such as configuring server tickrate, adjusting player slots, and enabling server-side mods or plugins.
Step 5: Advertise Your Server and Grow Your Community
Now that your Left 4 Dead 2 server is up and running, it’s time to spread the word and attract players to join your community. Utilize online forums, social media platforms, and gaming communities to promote your server and engage with potential players.
Furthermore, consider hosting special events, tournaments, or implementing unique features to differentiate your server from others and create a thriving community around it.
By following these steps, you’ll be well on your way to setting up your very own Left 4 Dead 2 server and providing an unforgettable multiplayer experience for you and your friends. Now let’s move on to the next section: Customizing Your Left 4 Dead 2 Server.
Customizing Your Left 4 Dead 2 Server
Once you have successfully set up your L4D2 server, it’s time to take it a step further by customizing various aspects. This will allow you to create a unique gaming experience tailored to your preferences. Let’s dive into the exciting world of customizations!
Installing Mods
Mods are a fantastic way to add new features, visuals, and gameplay elements to your Left 4 Dead 2 server. Whether you want to add new weapons, change character models, or introduce unique game modes, mods can take your gaming experience to the next level.
There are numerous websites and communities dedicated to Left 4 Dead 2 mods. Here are a few popular ones:
- L4DMaps
- Steam Workshop
- GameMaps
Simply browse through the available mods, select the ones you like, and follow the installation instructions provided by the creators. Be sure to check compatibility with your server version, and always back up your game files before installing mods.
Creating Custom Maps
If you’re feeling creative, why not try your hand at creating custom maps for your Left 4 Dead 2 server? With the powerful Hammer Editor provided by Valve, you can design unique environments and challenges for you and your friends to face.
Hammer Editor is a complex tool, but with practice and tutorials, you can master its features and unleash your creativity. Start by learning the basics of map creation and gradually experiment with different elements like layout, lighting, and item placement. Once you’ve finished designing your map, share it with the community or host it exclusively on your server.
Tweaking Gameplay Settings
To further customize your Left 4 Dead 2 server experience, you can tweak gameplay settings to match your desired style. Whether you want to increase or decrease difficulty, enable friendly fire, or modify respawn timers, the game’s server.cfg file allows you to fine-tune various parameters.
Consult the comprehensive Left 4 Dead 2 Dedicated Server Wiki for detailed instructions on modifying gameplay settings. Be sure to experiment and test different configurations to find the perfect balance for your server.
| Customization Option | Description |
|---|---|
| Difficulty | Adjust the overall difficulty level for your server. |
| Friendly Fire | Enable or disable friendly fire between players. |
| Respawn Timers | Modify the duration players have to wait before respawning. |
| Game Modes | Experiment with different game modes like versus, survival, or scavenge. |
Remember, customizing your Left 4 Dead 2 server allows you to create a unique gaming experience that captures the essence of your imagination. Explore the vast collection of mods, unleash your creative side by designing custom maps, and fine-tune gameplay settings to suit your style. Now, go forth and create the ultimate L4D2 server!
Enhancing Your Left 4 Dead 2 Server’s Performance
When it comes to hosting a multiplayer game server, optimizing its performance is crucial for providing an enjoyable gaming experience. In this section, we will explore various strategies to enhance the performance of your Left 4 Dead 2 server.
Firstly, consider your server hardware. Investing in a reliable and high-performance server can significantly improve the gameplay experience. Ensure that your server meets the recommended system requirements for running L4D2 smoothly.
Next, focus on network optimization. To minimize lag and latency issues, prioritize a stable and high-speed internet connection. Consider using a dedicated network connection for your server to minimize interference from other devices on the same network.
Finally, make server-side configuration tweaks. Adjusting settings such as tickrate, maximum player count, and game mode can help optimize server performance. Experiment with different configurations to find the optimal settings that suit your server’s specifications and player preferences.


